Know the real cost before you tile.
Enter your room size, tile price and layout pattern to get an instant waste allowance, grout and materials estimate, optional labor cost, and a total project budget — using the same pricing logic contractors use to write quotes. No more guessing what a “per square foot” price actually adds up to.
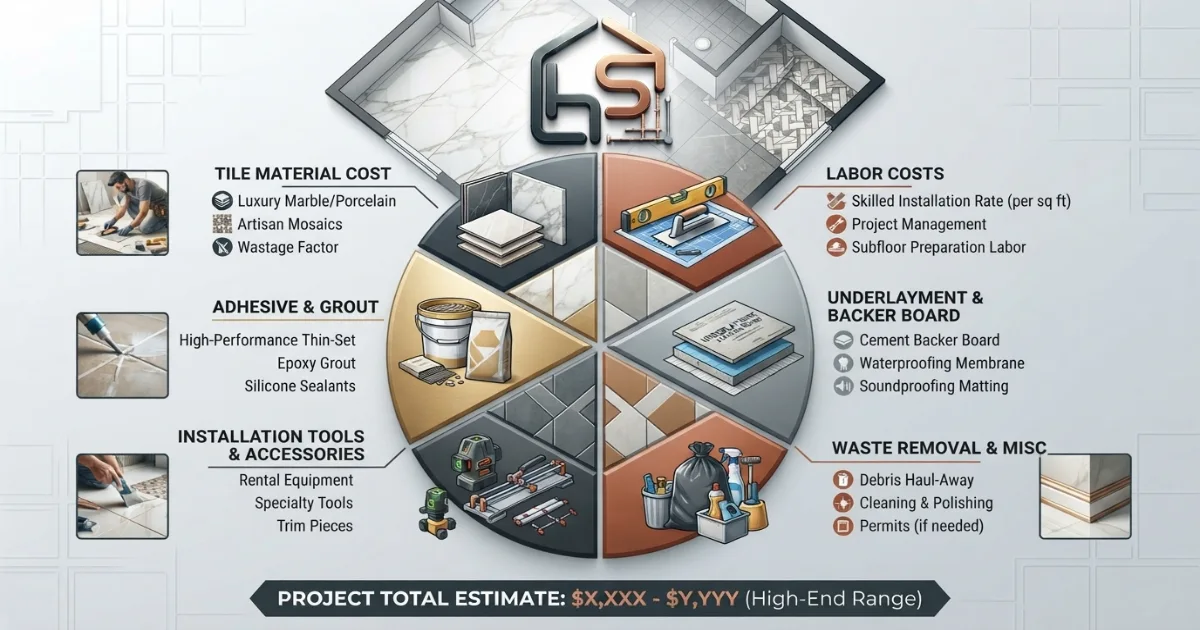
Total tile project cost is usually the tiled area times the tile price plus 10 to 20 percent waste, plus $0.50–$1.50 per square foot for grout and materials, plus $4–$14 per square foot for labor if you’re hiring a professional.
Typical tile project costs by room and pattern.
These estimates assume a mid-range tile price and standard waste allowance. Use the calculator above for a number matched to your exact room and tile choice.
| Room | Typical Size | Waste Allowance | Materials Only | With Labor |
|---|---|---|---|---|
| Bathroom floor | 35–50 sq ft | 10–15% | $150–$500 | $400–$1,400 |
| Kitchen backsplash | 25–35 sq ft | 10–15% | $120–$450 | $350–$1,100 |
| Shower wall & floor | 60–90 sq ft | 15–20% | $300–$1,200 | $900–$3,000 |
| Kitchen floor | 150–250 sq ft | 10–15% | $450–$2,000 | $1,200–$5,000 |
| Entryway / mudroom | 40–70 sq ft | 10–15% | $150–$700 | $450–$1,800 |
| Whole-home flooring | 800–1,500 sq ft | 10–15% | $3,000–$15,000 | $8,000–$35,000 |
Four common patterns — and the waste rule each one follows.
The layout pattern you choose changes how much extra tile you need to buy and how long installation takes. Here is what each pattern is built for and the cost logic behind it.
Straight Lay
Tiles run parallel to the walls in a simple grid. The fastest pattern to install and the one requiring the least extra tile for cuts and waste.
Waste: ~10%Diagonal
Tiles are rotated 45 degrees to the walls, which can make a small room feel larger, but every edge tile needs an angled cut.
Waste: ~15%Herringbone
Rectangular tiles interlock at right angles for a woven look. Striking, but the most labor-intensive and highest-waste pattern.
Waste: ~20%Large Format
Oversized tiles with fewer grout lines. Material cost per square foot tends to run higher, but labor and grout costs often drop.
Waste: ~12%See how pattern and tile size change the total cost.
These steps cover the essentials: measuring the area, applying the right waste allowance, and pricing out grout and labor before you commit to a tile order.
Measure the area
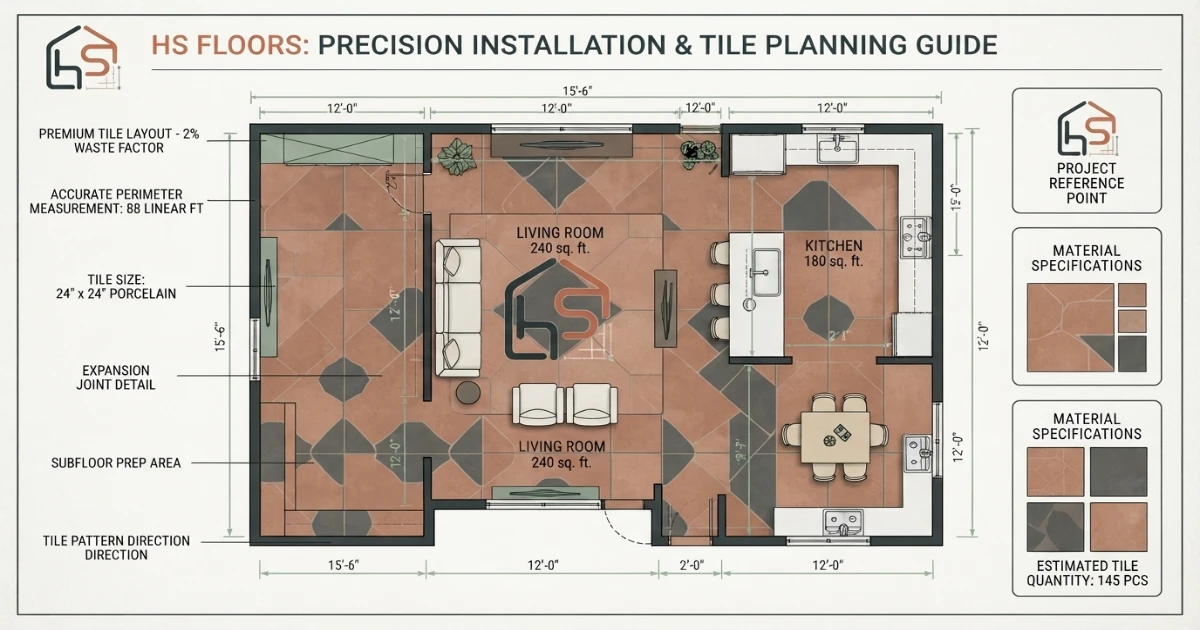
Start with room length and width before pricing tile. Note any alcoves, closets or awkward corners.
Apply the right waste allowance
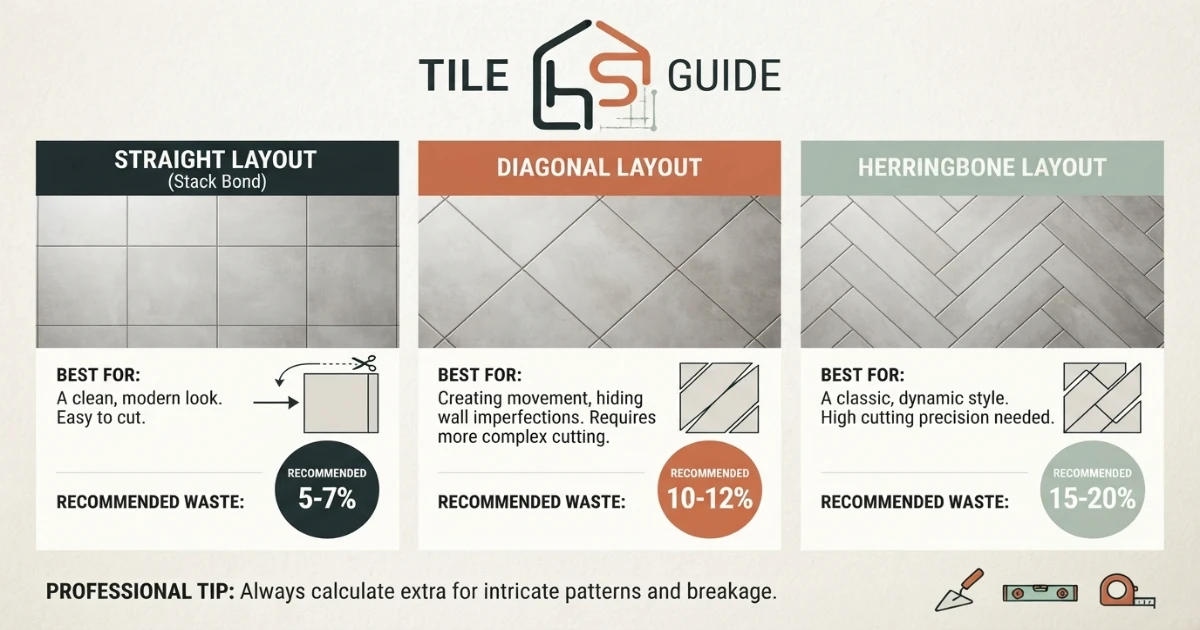
Straight-lay patterns need the least extra tile, while diagonal and herringbone patterns need noticeably more.
Price grout and labor
Add grout, materials and optional labor to see the real total before ordering tile or booking a contractor.
How to estimate a tile project cost — the complete guide.
The most common tile budgeting mistake is pricing only the tile itself and forgetting waste, grout, and installation. A tile that looks affordable at $2 per square foot can easily double in real cost once cutting waste, thinset, grout, sealer and professional labor are added in. Building the full estimate up front, rather than discovering the gap after ordering, is what keeps a tile project on budget.
Step 1: Measure the exact area to be tiled
Start by measuring the length and width of the room or surface in feet, then multiply them to get the total square footage. For a shower or backsplash, measure each wall or section separately and add the totals together, since these areas rarely form one simple rectangle. Round fractional measurements up rather than down, since underestimating the area is the single easiest way to run short on tile mid-project.
Step 2: Understand what “tile price per square foot” actually includes
Tile is typically sold by the box, with each box covering a set number of square feet, and priced anywhere from $1 for basic ceramic to $15 or more for natural stone or designer porcelain. When comparing tile prices, always convert box price to a per-square-foot figure so different tiles can be compared on equal footing, and confirm whether a quoted price includes delivery, since heavy tile like stone or large-format porcelain often carries a separate freight charge.
Step 3: Choose a layout pattern before estimating waste
The layout pattern is the single biggest factor in how much extra tile a project needs. A straight-lay grid, where tiles run parallel to the walls, wastes the least material because most cuts are simple straight lines reused along the opposite wall. Diagonal and herringbone patterns waste significantly more because most cut pieces are unique offcuts that can’t be reused elsewhere in the room, so budgeting the wrong waste percentage for a chosen pattern is one of the most common tile estimating mistakes.
Step 4: Apply the right waste percentage for the pattern
As a general guideline, budget 10 percent extra tile for a straight-lay pattern, 15 percent for a diagonal layout, and 15 to 20 percent for herringbone or other intricate patterns. Rooms with lots of corners, niches, or irregular shapes should add another 3 to 5 percent on top of the pattern’s baseline, since more cuts mean more scrap regardless of the pattern chosen. It’s almost always cheaper to buy slightly more tile upfront than to special-order a small quantity later, since dye lots can vary between production runs.
Step 5: Price out grout, thinset, and small materials separately
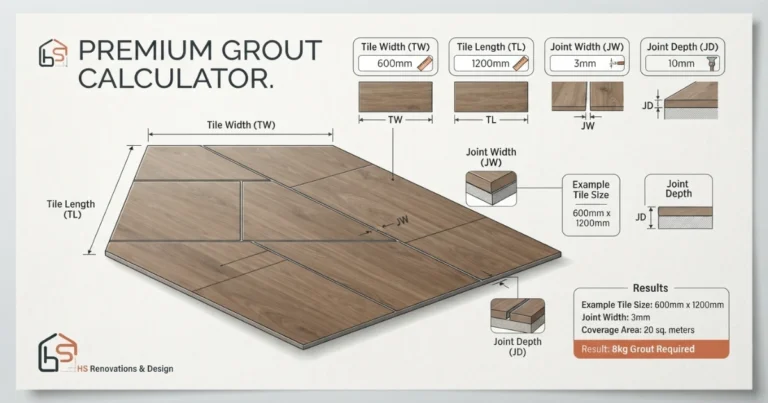
Beyond the tile itself, every project needs thinset mortar to bond the tile to the surface, grout to fill the joints, spacers to keep joints even, and often a sealer for natural stone or wide grout lines. Together these typically add $0.50 to $1.50 per square foot to the project, with the low end applying to large-format tile with narrow grout lines and the high end applying to small mosaic tile with wide, absorbent grout joints that need more sealer.
Step 6: Understand how tile size changes total cost
Larger format tiles, generally 12×24 inches or bigger, usually cost more per square foot for the material itself but reduce labor time since fewer pieces and grout lines need to be set and finished. Small mosaic or subway tile costs less per square foot as a material but adds meaningful labor time, since setting hundreds of small pieces per square foot takes longer than setting a handful of large ones. The lowest total cost isn’t always the cheapest tile; it’s the combination of tile size and price that minimizes combined material and labor cost for the specific pattern chosen.
Step 7: Decide whether labor is part of the budget
Professional tile installation labor typically runs $4 to $14 per square foot, with straight-lay patterns on inexpensive, easy-to-cut tile at the lower end, and diagonal, herringbone, or natural stone patterns at the upper end. A DIY installation skips this cost entirely but adds the cost of tools such as a wet saw, notched trowel, and tile spacers, plus the time investment and a higher risk of costly mistakes on complex patterns or expensive tile.
Step 8: Factor in regional labor cost differences
Labor rates for tile installation vary significantly by region and local cost of living, with major metro areas often running 20 to 40 percent higher than the national average and rural areas sometimes running lower. When comparing contractor quotes, request a breakdown between material and labor cost specifically, since a quote that only shows one combined number makes it difficult to tell whether the material markup or the labor rate is driving a higher-than-expected total.
Step 9: Add subfloor preparation costs where relevant
Tile requires a flat, stable surface, and older floors or those with cracks, unevenness, or previous flooring often need leveling compound, cement backer board, or removal of the existing floor before tile can go down. Subfloor preparation can add anywhere from $1 to $5 per square foot depending on the condition of the existing surface, and skipping this step on an uneven floor is one of the most common causes of cracked tile or grout within the first year.
Step 10: Budget separately for demolition and disposal if replacing existing flooring
If the project involves removing existing tile, vinyl, or hardwood before installing new tile, demolition and disposal typically add $1 to $3 per square foot on top of the new installation cost. Older homes with multiple layers of flooring, or tile set directly into a thick mortar bed, often cost more to remove than newer, single-layer installations, so it’s worth asking a contractor to inspect the existing floor before finalizing a budget.
Step 11: Build in a contingency for unexpected findings
Even a carefully measured tile project benefits from a 10 to 15 percent contingency on top of the full estimated total, since removing old flooring sometimes reveals subfloor damage, moisture issues, or plumbing that needs attention before tile can go down. Treating this contingency as a normal part of the budget, rather than an emergency expense, makes it far easier to absorb a surprise without derailing the rest of a renovation.
Step 12: Compare multiple contractor quotes on the same basis
When gathering quotes for a tiling job, make sure every contractor is pricing the exact same tile, pattern, and square footage, since a lower quote sometimes reflects a cheaper tile substitution or a simpler pattern rather than a genuinely better price on the same job. Ask each contractor to itemize tile, materials, labor, and any subfloor work separately so the quotes can be compared line by line instead of as a single opaque total.
Step 13: Account for tile that requires a professional installer
Certain tile types, including large-format porcelain slabs, natural stone with veining that needs to be matched across pieces, and glass mosaic, are difficult to install well without professional experience and specialized tools. Attempting these as a first DIY project often leads to cracked tile, lippage between pieces, or an uneven finish that ends up costing more to redo than hiring a professional would have cost from the start.
Step 14: Reassess the estimate after choosing the final tile
It’s common to start budgeting with a placeholder tile price and finalize a different, often pricier, tile after seeing samples in person. Always re-run the total cost estimate once the actual tile is selected rather than relying on an early placeholder number, since even a $1 per square foot difference adds up quickly across a large room or a whole-home flooring project.
Step 15: Keep a small percentage of tile in reserve after installation
Once installation is complete, store any leftover tile from the waste allowance in a dry area for future repairs, since dye lots and production runs change over time and matching a broken tile years later can be difficult or impossible. Label the stored tile with its name, size, and purchase date so it can be identified quickly if a repair is ever needed.
Rules that prevent a tile budget from running over.
A calculator gives the best starting numbers, but the final budget still depends on tile availability, subfloor condition, and local labor rates. The rules below cover the details worth checking even after settling on an estimate.
Estimate total tile project cost as the tiled area times tile price plus a pattern-based waste allowance, plus grout and materials at roughly $0.50 to $1.50 per square foot, plus labor at $4 to $14 per square foot if hiring a professional.
Always buy extra tile
Order the full waste-adjusted quantity in one batch, since matching dye lots later is difficult or impossible on some tile lines.
Get itemized quotes
Ask contractors to separate tile, materials, labor and subfloor work so quotes can be compared line by line, not as one number.
Check the subfloor first
Confirm the existing floor is flat and stable before finalizing a budget, since leveling and prep work can add real cost.
Keep a contingency
Budget 10 to 15 percent above the full estimate to absorb surprises found once old flooring is removed.
Helpful tile and renovation topics.
A tile budget rarely stands alone. Once you know the total project cost, it helps to plan the surrounding elements at the same time — how much tile to actually order, paint for the rest of the room, and the overall room layout. Use these supporting pages from the HomeStyle Calculator homepage to plan the rest of the project.
Six things contractors always check before quoting a tile job.
Order tile in one batch
Buying all the tile for a project at once avoids dye lot mismatches that can happen between separate production runs.
Match waste to the pattern
A herringbone or diagonal layout needs more waste budgeted than a simple straight-lay grid, even in the same size room.
Inspect the subfloor before quoting
An uneven or damaged subfloor adds real cost and should be priced separately from the tile installation itself.
Separate material and labor on every quote
An itemized quote makes it possible to compare contractors fairly instead of guessing where a lower total number came from.
Price large-format tile installation carefully
Big tiles need a flatter substrate and more careful handling, which can affect labor cost even though fewer pieces are set.
Keep leftover tile for repairs
Store extra tile from the waste allowance in case a piece cracks or needs replacing years down the line.
Tile cost questions — answered.
More calculators for every room decision.
Every tool uses professional designer and contractor formulas. Free, instant, no sign-up — just enter your project and get the exact answer.
Bookmark HomeStyle Calculator for every renovation budget.
From a small bathroom refresh to a whole-home flooring project, our free tools give you the exact quantity, cost and layout before you order tile or hire a contractor.